
Disclaimer – We received this item free for the purpose of this review/feature but all words and opinions are our own.
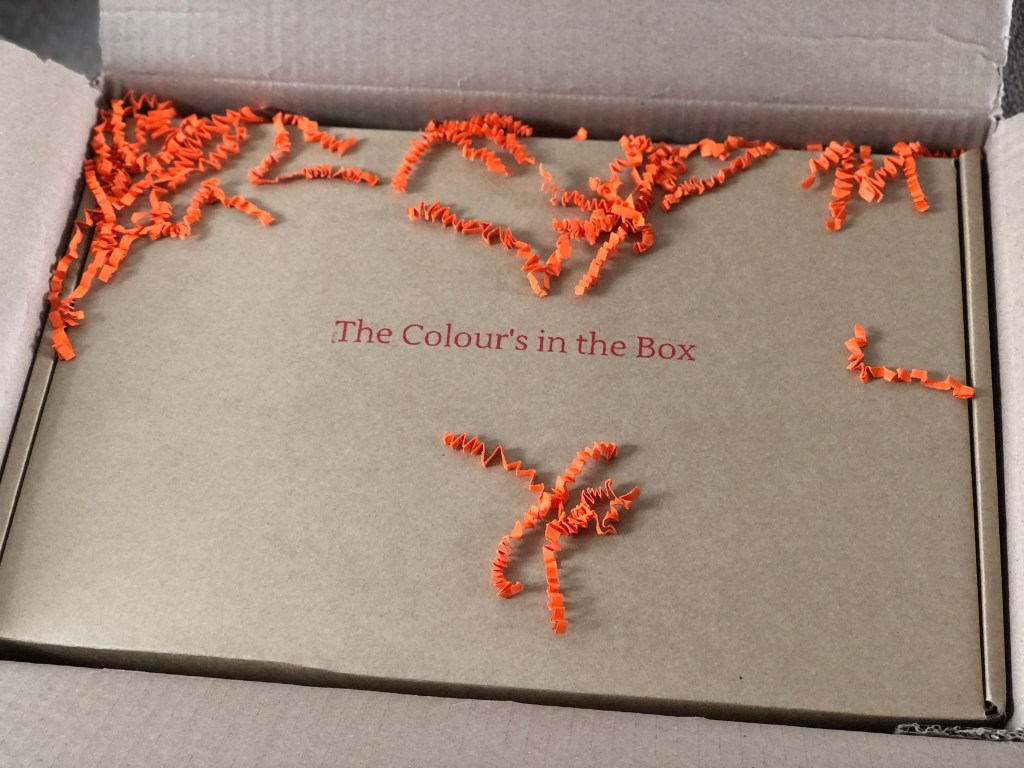
What a great gift! The team at Immature Garden sent us one of their Large Microgreen Growing Kits to show us how indoor planting of microgreens is not only easy, but a great present for anyone. We had no idea what was in the kit when it arrived, so what you’re seeing is a succession of photos as we unpacked what was inside. Read on to see how it works…


Anita and Arnold founded Immature Garden in 2019 when they couldn’t find a sustainable, easy way to grow microgreens at home. Fast forward to today and they do indeed have a lovely business growing microgreens, selling the kit and everything that goes with it. What are microgreens though? Vegetables which you would normally go and buy in the shops at maturity are just as nutritious, if not more, when they are seedlings and before the vegetables or fruits start to grow. You see microgreens on lots of restaurant dishes and if you are serious about increasing your ‘5 a day’ to increase your nutrition intake, microgreens are the way to go. They’re also excellent for growing indoors and during the colder months where you can just cut them down and use them as you need them.
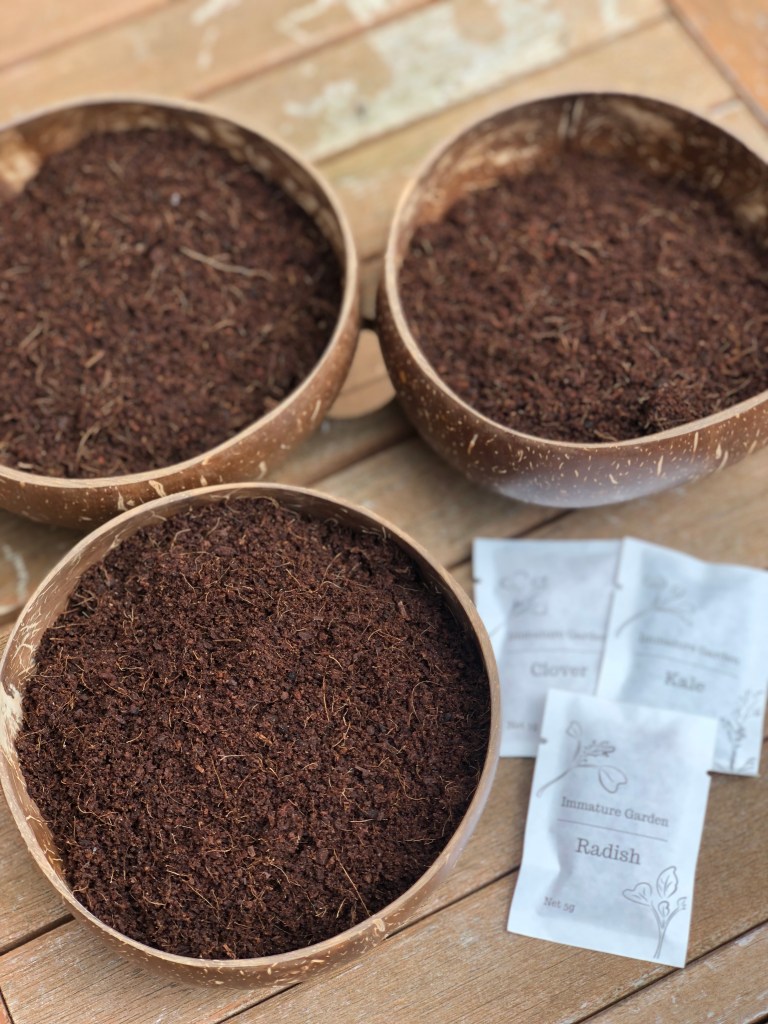
We were sent the Large Microgreen Grow Kit which has more than enough of everything for you to be able to grow microgreens for yourself. Within the box, there are 3 coconut shell and 6 packets of coco soil. Hidden within the box (and this is great for kids as you have to pull the box apart to find what’s hidden at the bottom!) contains three different types of microgreen seeds; radish, kale and clover. The box comes with instructions or there is a video online but if you’re a gardener or have grown microgreens before, you’ll know how easy it is to put together.
The soil provided is just the right amount for each of the coconut bowls. Empty one packet into a bowl, keeping the plastic bag to one side. Fish out one of the packets of seeds – a whole packet covers the soil of one bowl as long as you spread the seeds out evenly and this is important to stop them from becoming mouldy. Water them sparingly just so that the soil and seeds are wet. Using the plastic bag the soil came in, enclose the bowls and seal up the bag so that there is enough heat generated for the seeds to germinate. Once they have started to sprout, you can take them out of the bag and keep them indoors until they grow to a reasonable height. The seeds will keep growing unless you cut them and use them, but with the multiple packs you can keep the Immature Garden going for several months – and order more seeds from the website too.
This is a fabulous gift for anyone who is interested in either cooking or gardening, and families with children will love it too as they learn about growing seeds as well as being hands-on. I recommend starting the kit outdoors so that the soil doesn’t go everywhere, which is what I did, then you can move the bowls in the bags indoors. The kit can be started any time of year not just in summer so as a gift it would be great for Christmas, and in the winter is when we need more nutritious food that can’t be found in shops as easily. It’s also great fun watching them grow and make beautiful centre pieces for dining tables and decoration on shelves!
Check back to see my photos as the kale, clover and radishes sprout and grow – I can’t wait!
Large kit £33.80: https://www.immaturegarden.co.uk/product-page/Large-Microgreen-Grow-Kit
Starter kit: £17.75: https://www.immaturegarden.co.uk/product-page/Starter-Microgreen-Grow-Kit
UPDATE: We have some germinated seeds already! Don’t they look fab!

